SAML | Citrix ADC
Cloudflare Zero Trust can integrate with Citrix ADC (formerly Citrix NetScaler ADC) as a SAML IdP. Documentation from Citrix shows you how to configure Citrix ADC as a SAML IdP. These steps are specific to Cloudflare Zero Trust.
Set up Citrix ADC (SAML)
To set up Citrix ADC (SAML) as your identity provider:
-
First, you’ll need to configure 2 SAML certificates:
- A certificate to terminate TLS at the vServer. Ensure that the certificate is issued by a publicly trusted CA.
- A certificate for signing SAML assertions.
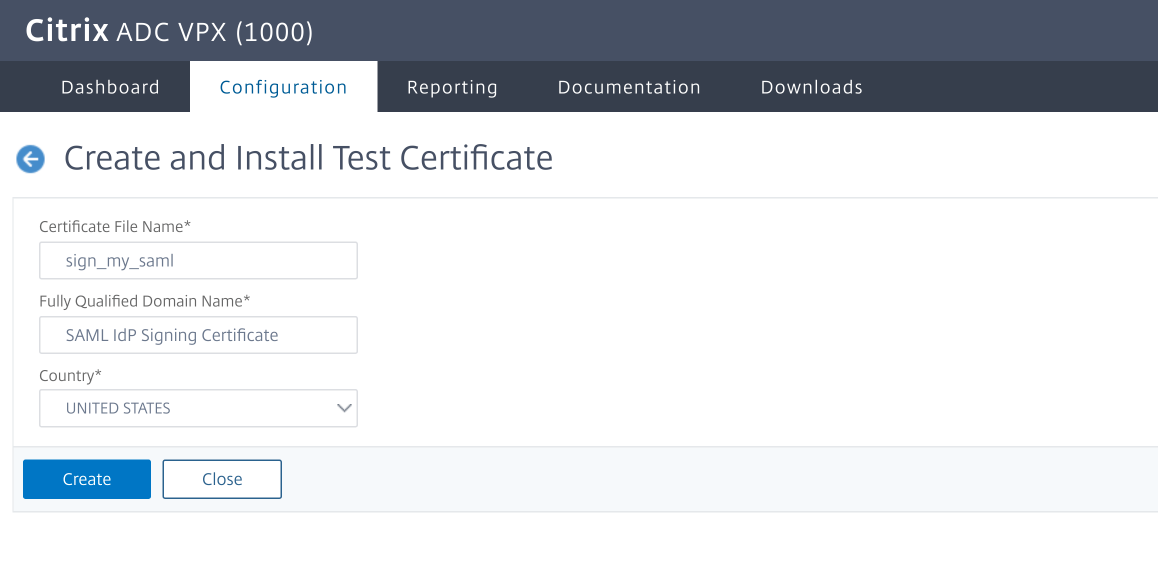
If you do not already have a certificate for signing SAML assertions, you can use a self-signed certificate generated on Citrix ADC by following these steps:
- Go to Traffic Management > SSL.
- Select Create and Install a Server Test Certificate.
-
Select Configuration and enter a Certificate File Name, Fully Qualified Domain Name, and a select a Country.
-
Create a publicly accessible authentication vServer and configure the user identity source (like, local users, LDAP) by following this Citrix documentation.
For the rest of this example, the user refers to the IdP address
idp.yourdomain.com.
Add a new profile
-
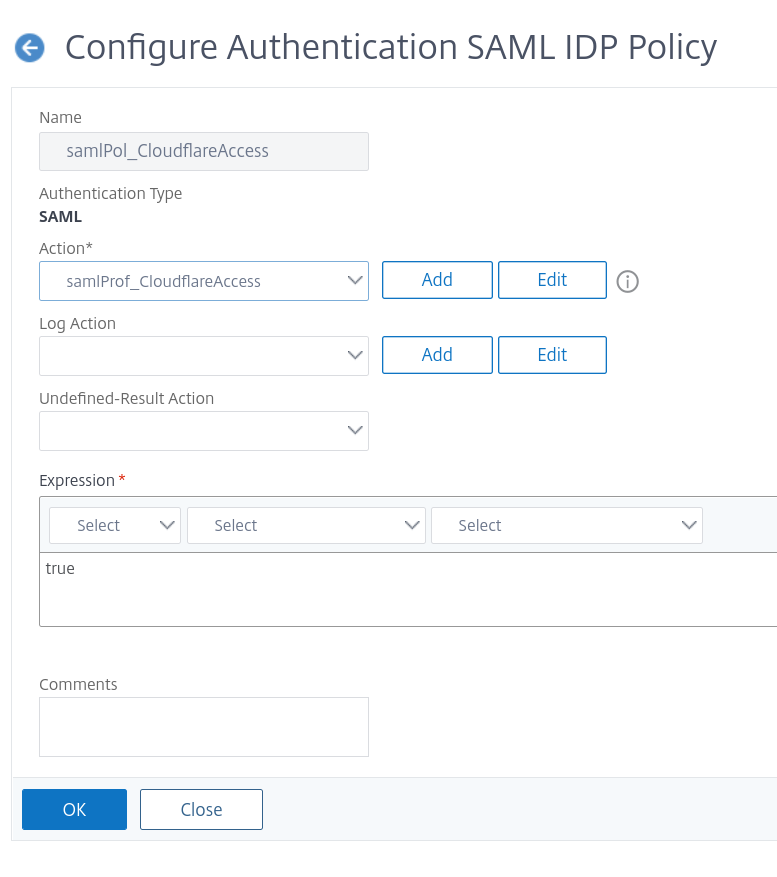
Go to Security > AAA - Application Traffic > Policies > Authentication > Advanced Policies > SAML IDP to add a new profile.
Include the following required configuration details:
Field Description Name The certificate name you defined while configuring SAML Assertion Consumer Service URL https://<your-team-name>.cloudflareaccess.com/cdn-cgi/access/callbackIdP Certificate Name The IdP certificate name you defined while configuring SAML Issuer Name https://idp.<yourdomain>.com/saml/loginService Provider ID https://idp.<yourdomain>.com/saml/loginName ID Format EmailAddress Attribute 1 email = AAA.USER.ATTRIBUTE("email")Cloudflare Access currently sends the IdP address in place of the Service Provider ID for the AuthN request.
-
Create an Authentication Policy that refers to the Profile just created, and bind it to the authentication vServer mentioned above.
To configure all of the above using just the CLI, run the following:
add authentication samlIdPProfile samlProf_CloudflareAccess \-samlIdPCertName SAML_Signing \-assertionConsumerServiceURL "https://<your-team-name>.cloudflareaccess.com/cdn-cgi/access/callback" \-samlIssuerName "https://idp.yourdomain.com/saml/login" \-rejectUnsignedRequests OFF \-NameIDFormat emailAddress \-Attribute1 email \-Attribute1Expr "AAA.USER.ATTRIBUTE(\"email\")" \-Attribute1Format Basic \-serviceProviderID "https://idp.yourdomain.com/saml/login"add authentication samlIdPPolicy samlPol_CloudflareAccess -rule true -action samlProf_CloudflareAccessbind authentication vserver nsidp -policy samlPol_CloudflareAccess -
In Zero Trust, go to Settings > Authentication.
-
Under Login methods, select Add new.
-
Configure the fields as follows:
Field Description Name Your chosen name Single Sign On URL The FQDN of the IdP, with the path /saml/loginIdP Entity ID/Issuer URL As above Signing Certificate The public certificate from the NetScaler Email attribute name This is listed under Optional configurations -
Select Save.
To test that your connection is working, go to Authentication > Login methods and select Test next to the login method you want to test.